The world is divided into two types of people: those who’ve experienced the life-changing magic of brown butter chocolate chip cookies… and those who think regular cookies are good enough. If you’re in the second group, buckle up — your cookie standards are about to skyrocket.
I’m not exaggerating when I say brown butter is a complete game-changer. It’s the culinary equivalent of taking your everyday jeans-and-t-shirt outfit and throwing on a designer jacket. Suddenly, the whole vibe changes. And once you’ve made cookies this way, you’ll never want to go back.
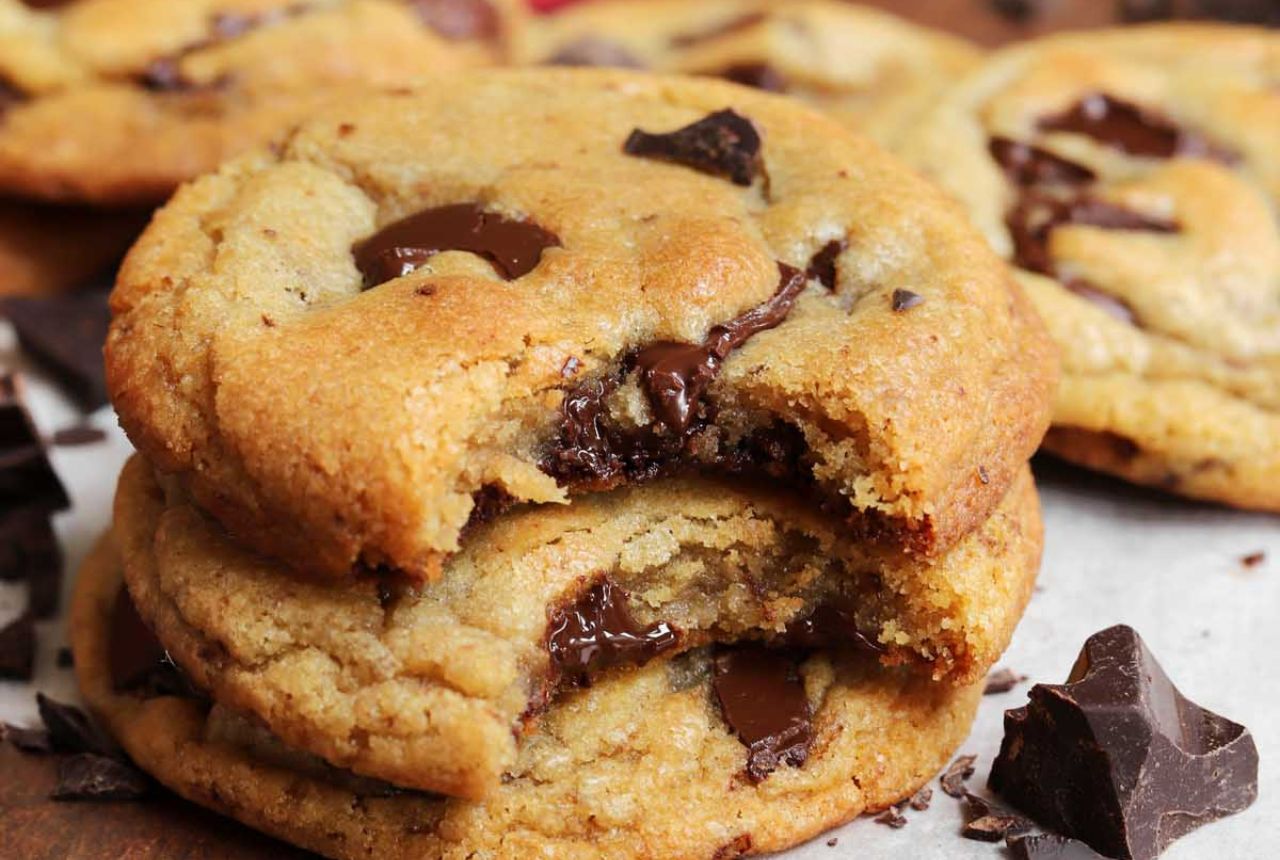
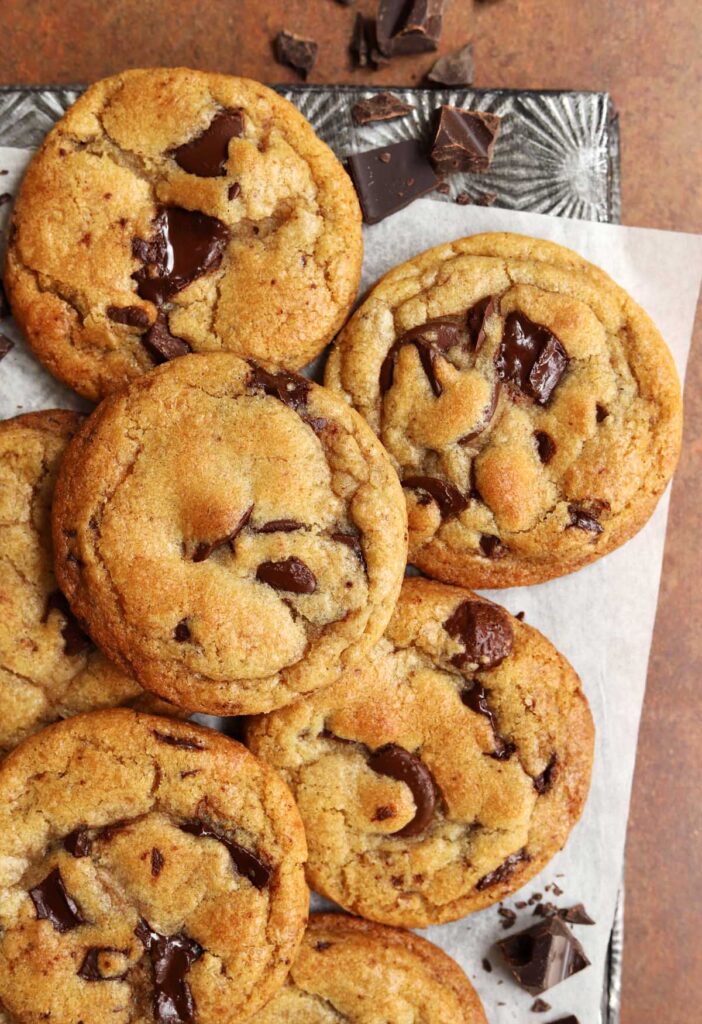
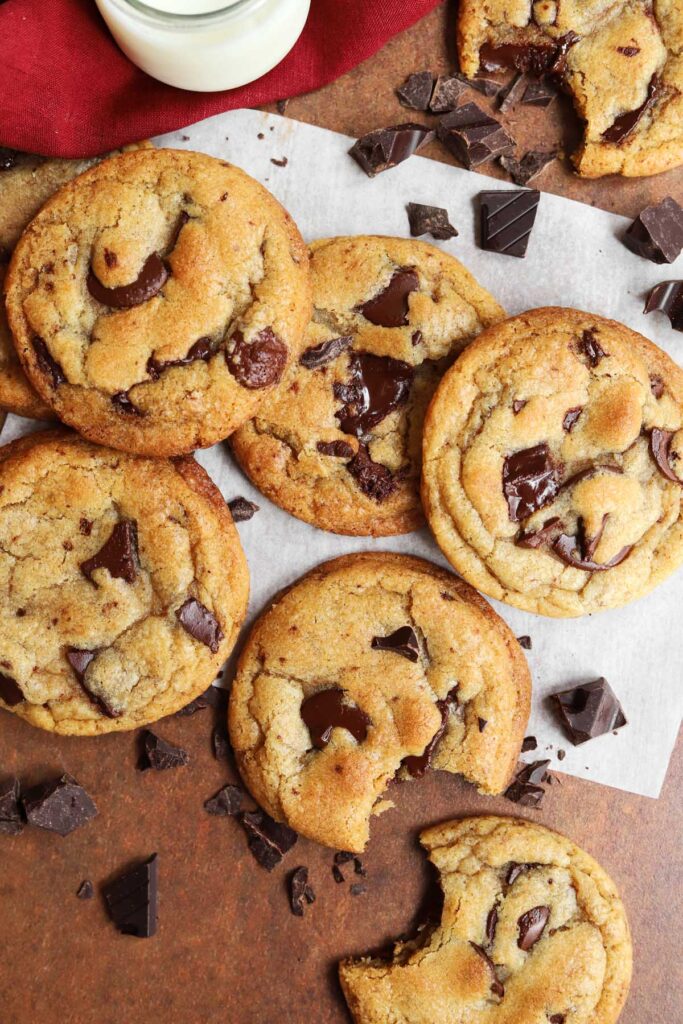
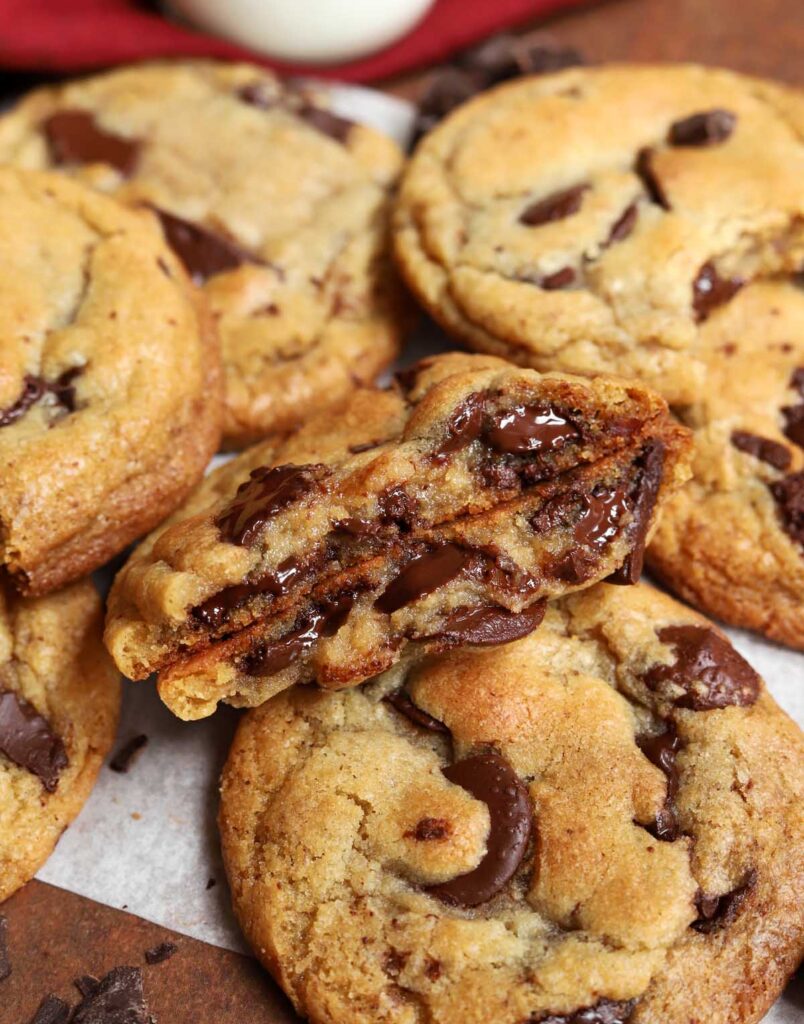
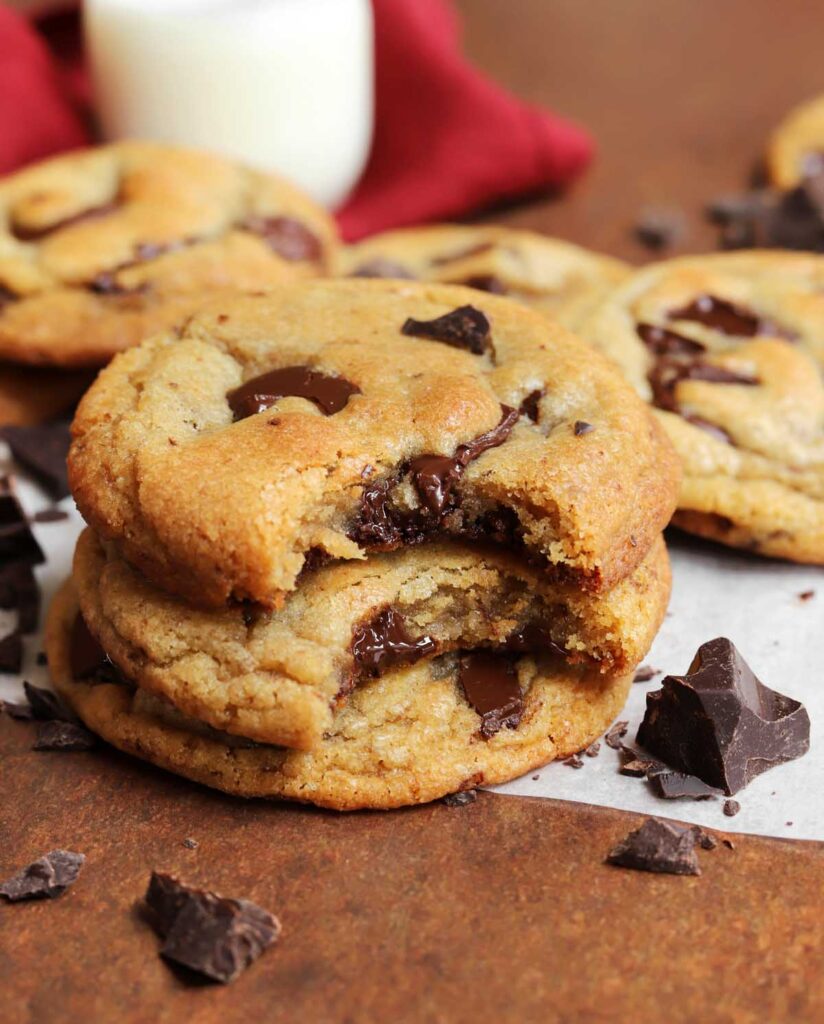
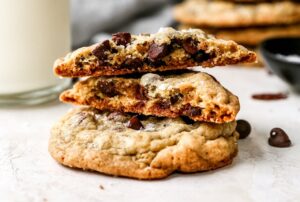
You know how regular chocolate chip cookies are already great? Well, these are chewy, crispy on the edges, rich, nutty, and packed with melty pools of chocolate. Plus, they make your kitchen smell like you hired a French pastry chef for the afternoon.
So… why do these cookies feel like the Beyoncé of the dessert world? Let’s talk about it.
Why Brown Butter Is the Secret Ingredient You’ve Been Missing
Ever wondered why some cookies just taste fancier, even though the ingredients look basic on paper? Nine times out of ten, it’s the butter doing the heavy lifting — and in this case, browned butter.
Brown butter (or “beurre noisette” if you’re feeling fancy) is what happens when you slowly heat butter until the milk solids toast and turn golden brown. The flavor becomes deep, nutty, and caramel-like — basically, butter on steroids.
Think of it like this: if regular butter is a polite handshake, brown butter is a warm bear hug that whispers “I love you” in your ear.
And here’s the kicker — you don’t need special equipment or obscure ingredients to make it. Just a saucepan, some patience, and maybe a little self-control to not drink it straight from the pan (don’t judge me).
The Perfect Texture: Crispy, Chewy, Gooey (Yes, All Three)
IMO, the best chocolate chip cookies have three non-negotiables:
- Crispy edges – because no one likes a cookie that’s soft all the way through.
- Chewy center – that satisfying bite that makes you want another immediately.
- Gooey chocolate pockets – you know, the kind that makes you pause mid-bite to admire the melt.
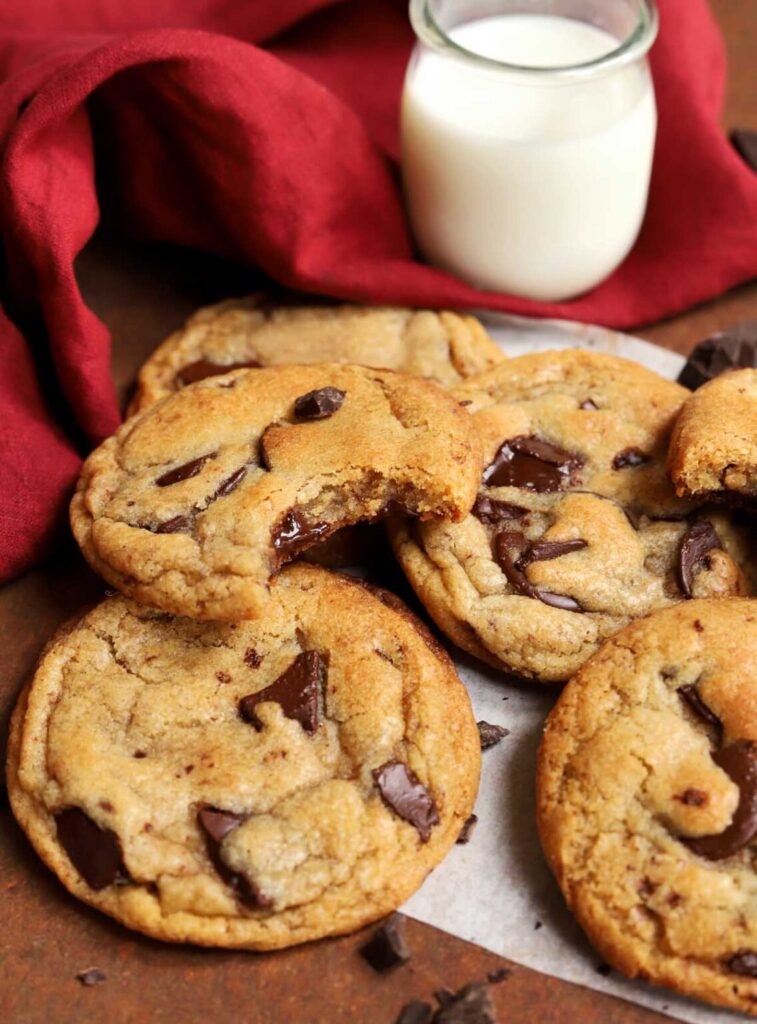
With brown butter in the mix, you get a richer chew and more depth of flavor — plus the slight crispiness that makes them perfect for dunking in milk (or coffee… or wine; I’m not here to judge your life choices).
Choosing the Right Chocolate (Yes, It Matters)
Okay, quick PSA: if you’ve been making cookies with cheap chocolate chips from the bargain bin, I need you to stop. Right now.
When you’re making something as rich and flavorful as brown butter cookies, the chocolate should match the quality of the butter. I love using a mix of chopped dark chocolate and semisweet chips — the dark chocolate gives you those dramatic melty puddles, while the chips keep their shape for texture.
Some of my personal favorites:
- Callebaut bittersweet – it’s smooth, intense, and melts beautifully.
- Lindt 70% bars – perfect for a slightly bitter contrast to the sweetness.
And yes, you can absolutely mix in milk chocolate if you prefer a sweeter profile — this is your cookie journey, after all.
Why Chilling the Dough Is Non-Negotiable
I know, I know — you want cookies now, not in three hours. But here’s the truth: the fridge is your friend.
Chilling the dough does two magical things:
- It lets the flavors develop – the brown butter gets even nuttier, and the sugars blend beautifully.
- It controls spread – so you don’t end up with sad, flat cookie puddles.
If you’re really in a rush, you can chill for just an hour… but trust me, the full 3–4 hours is worth it.
Pro tip: make a double batch, scoop into balls, and freeze them. That way, you can bake fresh cookies any time the craving hits. (Yes, this is both dangerous and genius.)
A Note on Salt (Because It’s Not Just for Savory Dishes)
Ever taken a bite of a dessert and thought, This tastes flat? That’s probably because it was missing enough salt.
In cookies, salt doesn’t just “season” — it balances sweetness and makes the chocolate taste even more chocolatey. I love adding a sprinkle of flaky sea salt right after baking. Not only does it taste incredible, but it also makes your cookies look like they came straight from a boutique bakery.
Baking Tips for Cookie Perfection
Alright, here’s where we separate the casual bakers from the cookie pros. A few small tweaks can make a huge difference:
- Use parchment paper instead of greasing your pan — it keeps the bottoms from over-browning.
- Don’t overbake – the cookies should look slightly underdone in the center when you pull them out. They’ll keep cooking from the residual heat.
- Rotate the pan halfway – especially if your oven has hot spots.
- Weigh your ingredients – flour measuring mistakes are the #1 reason cookies turn out wrong.
Serving Ideas That Take These Cookies Over the Top
Not that they need help… but if you want to get extra, here’s how:
- Ice cream sandwiches – vanilla bean or salted caramel are my top picks.
- Dip in espresso for a grown-up twist.
- Crumble over brownies for a cookie-brownie hybrid (a.k.a. the ultimate sugar bomb).
- Gift them – just be prepared for people to start “dropping by” more often.
Troubleshooting: When Cookies Go Rogue
Even the best bakers have cookie flops. Here’s a quick rescue guide:
- Too flat? You probably didn’t chill the dough long enough or your butter was too hot.
- Too cakey? You might’ve added too much flour — double-check your measurements.
- Dry? Overbaked. Next time, take them out earlier.
- No flavor? You skimped on the brown butter magic. Don’t do that again.
Brown Butter Chocolate Chip Cookies Full Recipe
Ingredients
- 10 tbsp (140g) salted butter
- 1 ½ cups (215g) all-purpose flour (measure accurately or the cookies will spread too much)
- ¾ tsp baking soda
- ¼ tsp salt
- ⅔ cup (145g) packed light brown sugar
- ⅓ cup (65g) granulated sugar
- 1 large egg (at room temperature)
- 1 tbsp (15ml) milk
- 1 tsp (5ml) pure vanilla extract
- 3 oz (85g) dark chocolate, coarsely chopped (Callebaut bittersweet or Lindt 70% are my go-to)
- ½ cup (85g) semisweet chocolate chips
- Flaky sea salt (optional for topping)
Pro Tip: Use a kitchen scale for accuracy. Cookie dough is a diva — treat her right. 🙂
Instructions
Step 1 – Brown the butter
- In a medium saucepan over medium heat, melt the butter. Keep swirling the pan until golden brown specks form and a nutty aroma fills your kitchen (about 8–10 minutes).
- Immediately pour into a mixing bowl to prevent overcooking. Let cool for 20–30 minutes until just warm (about 90–93°F if you’re checking with a thermometer).
Step 2 – Mix dry ingredients
- In a separate bowl, whisk together the flour, baking soda, and salt.
Step 3 – Combine butter and sugars
- Add both sugars to the cooled brown butter. Mix gently with a spatula (or on medium speed with a stand mixer for 20 seconds) until it resembles damp sand.
Step 4 – Add wet ingredients
- Stir in the egg, milk, and vanilla until fully combined and creamy. Avoid overbeating, especially if your kitchen is chilly (cold butterfat can seize up).
Step 5 – Add dry ingredients and chocolate
- Fold in the flour mixture until mostly combined.
- Add chocolate chunks and chips, mixing until evenly distributed.
Step 6 – Chill the dough
- Cover the bowl and refrigerate for 2–4 hours. (Minimum 1 hour if you’re impatient, but the longer the better.)
Step 7 – Bake
- Preheat oven to 375°F (190°C). Line baking sheets with parchment paper.
- Scoop dough into 14 balls (about 56g each) and place 3 inches apart.
- Bake for 8–10 minutes, until golden on the edges but soft in the center.
Step 8 – Cool & enjoy
- Let cookies cool on the tray for 2 minutes, then transfer to a wire rack.
- Sprinkle with flaky sea salt if you’re feeling fancy.
Nutritional Breakdown (Per Cookie – based on 14 cookies)
| Nutrient | Amount |
|---|---|
| Calories | ~230 kcal |
| Carbohydrates | 28g |
| Protein | 2.7g |
| Fat | 12g |
| Saturated Fat | 7g |
| Cholesterol | 30mg |
| Sodium | 115mg |
| Sugar | 17g |
| Fiber | 1.5g |
Note: Values are estimates and can vary depending on your exact ingredients and portion sizes.
FAQ
Q1: Can I use unsalted butter instead of salted?
Absolutely. Just add an extra ¼ tsp salt to the recipe to balance the flavor.
Q2: My cookies spread too much. What happened?
Likely culprits: butter was too hot when mixing, flour measurement was off, or dough wasn’t chilled long enough.
Q3: Can I make the dough ahead of time?
Yes! Chill in the fridge for up to 48 hours or freeze pre-scooped dough balls for up to 2 months.
Q4: Why does my brown butter sometimes burn?
Heat was too high or you stopped stirring. Keep the heat medium and swirl constantly for even browning.
Q5: Can I swap the chocolate for other mix-ins?
Of course! Try white chocolate + macadamia nuts, toffee bits, or even pretzel pieces for a sweet-salty combo.
Final Thoughts
Here’s the thing — once you master brown butter chocolate chip cookies, you unlock a whole new level of baking confidence. They’re fancy enough to impress guests, but still chill enough for a Tuesday night baking session in pajamas.
The nutty richness, the gooey chocolate, the chewy-crispy texture… it’s basically all your dessert dreams rolled into one.
So, next time you’re tempted to grab that store-bought dough, remember this: you could have cookies so good they make people question their life choices. And really, isn’t that the goal?

